Saturday, March 24, 2012

Brownie Battle

You might remember that I've had some brownie blunders in the past. In fact, I've just never had fantastic luck with bars, in general. My edges come out crisp and delicious, but my centers are almost always undercooked. (And please don't recommend that stupid "all edges" pan ... unlike most people, I think the middle brownies are the best!)

After my biggest brownie fail, my BFF saved the day with a pretty decent recipe. Her fudgy brownies were amazing, but I still felt like we hadn't quite achieved perfection. Then Bill decided to make brownies on Valentine's Day. I wished him luck and explained my brownie blues. And he proceeded to make some of the most delicious, thick and fudgy brownies I'd ever tasted. Needless to say, I was pissed. This called for a brownie bake-off.

My original intent was to use the same recipe he did, confident that I could make them better. Well, when the day came for me to bake my brownies, I was short an egg. So I had to improvise. He'd used an America's Test Kitchen recipe, so I figured it would be easy enough to locate a similar one (that hopefully called for 2 eggs instead of 3!). Instead, I came across a Quicker Turtle Brownie recipe in a past issue of Cook's Country which looked nothing like Bill's recipe. Since I was going to have to improvise anyway, I may as well start from scratch.

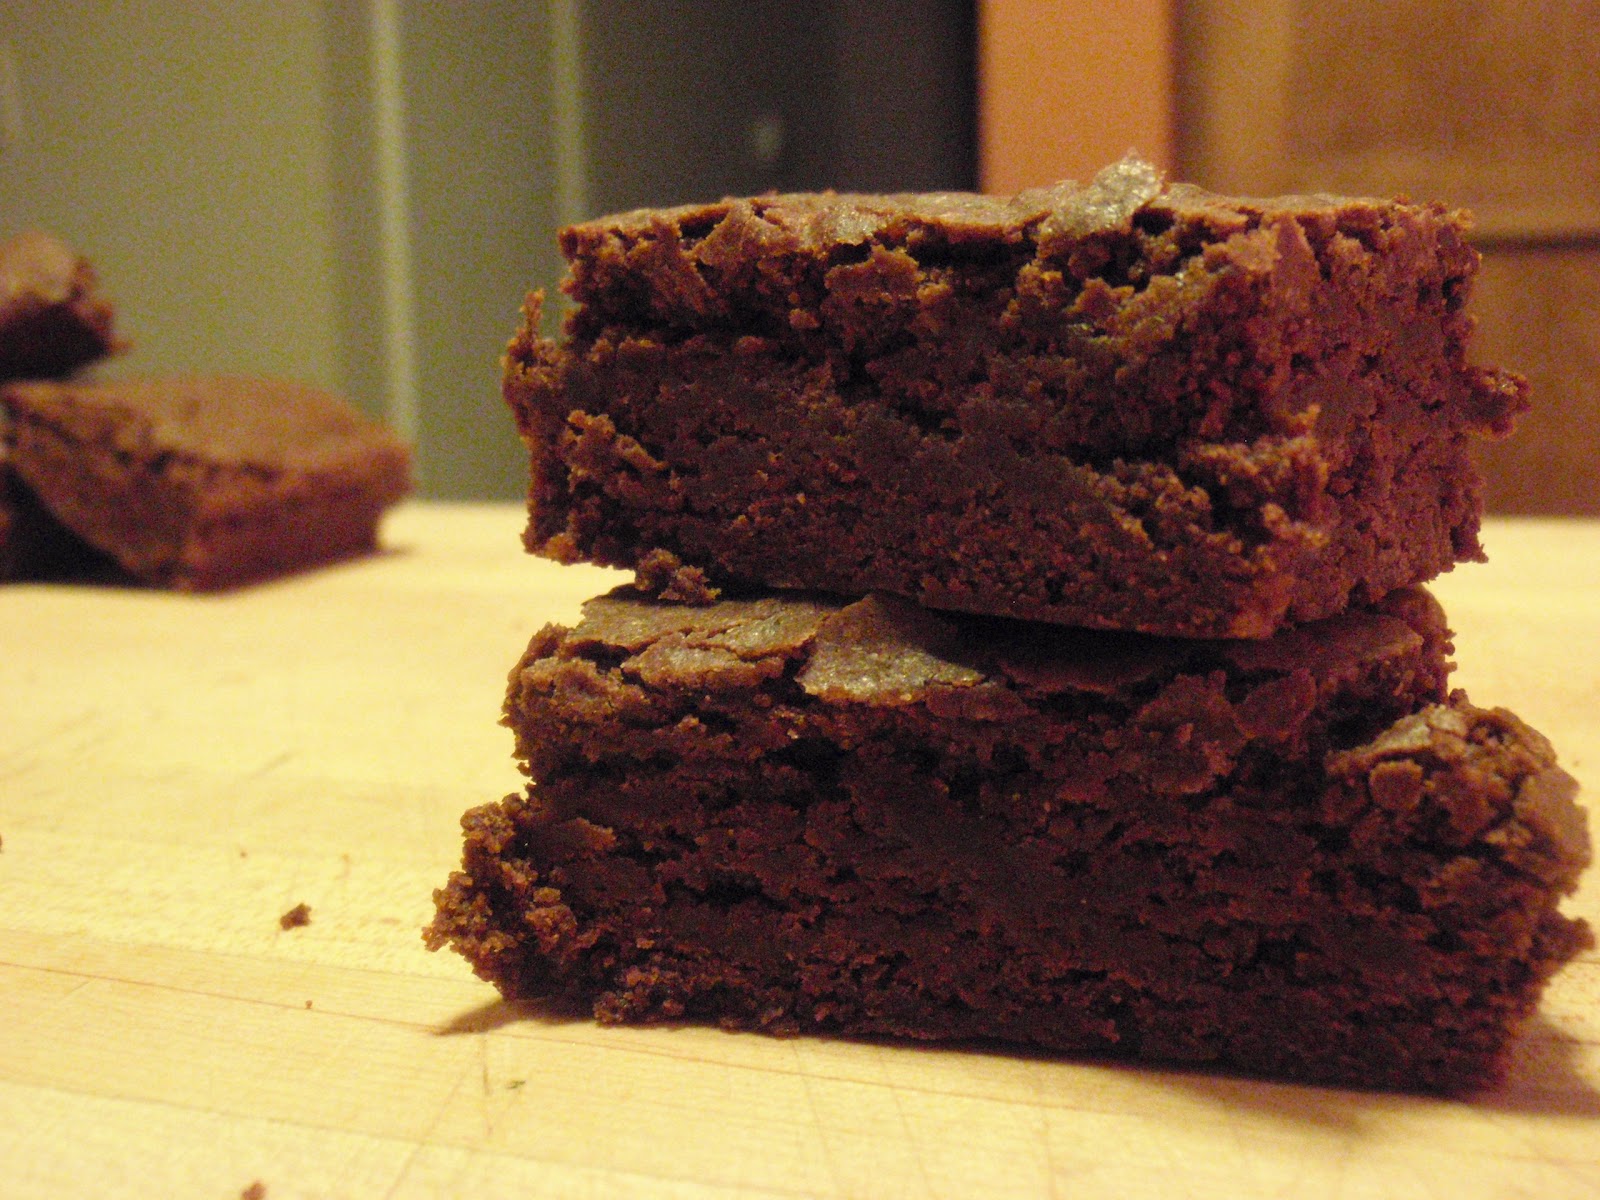
Following the general steps of their recipe, I concocted the one below. It has significantly less chocolate, butter, and sugar than Bill's recipe, and it's a bit more cakey than fudgy. But the one complaint I heard about Bill's brownies was that they were SO dense and rich. So I think mine struck just the right balance!

While we didn't compare them side-by-side because they were a baked a couple weeks apart (which explains why I don't have a picture of Bill's version), the memory was fresh. I don't think he's actually admitted it yet, but I definitely think that my recipe takes the cake ... which makes up for that pumpkin pie throwdown that I lost.

My "Quicker, Basic" Brownies
Ingredients:
1 cup cake flour
1/2 teaspoon baking powder
1/4 teaspoon salt
4 tablespoons butter, cut into 1-inch pieces
3 oz. unsweetened chocolate, chopped
3/4 cup sugar
2 eggs
1 1/2 teaspoons vanilla

Directions:
Adjust oven rack to middle position and heat oven to 325 degrees. Line 8-inch square baking pan with foil. Spray foil with cooking spray.

Combine flour, baking powder, and salt in a bowl. In another bowl, microwave butter and chocolate, stirring occasionally until smooth, about 1 minute. Whisk sugar, eggs, and vanilla into chocolate mixture. Add flour mixture in 3 additions, mixing until combined. Scrape batter into prepared pan and spread into an even layer. Bake until toothpick inserted in center comes out with just a few crumbs attached, about 40 to 50 minutes.

Do your best to let them cool completely before slicing and serving :)


Bill's "Chewy, Fudgy" Brownies
Ingredients:
5 oz. semisweet or bittersweet chocolate, chopped
2 oz. unsweetened chocolate, chopped
8 tablespoons butter, cut into 4 pieces
3 tablespoons cocoa
3 eggs
1 1/4 cups sugar
2 teaspoons vanilla
1/2 teaspoon salt
1 cup flour

Directions:
Adjust oven rack to middle position and heat oven to 350 degrees. Line 8-inch baking pan with foil. Spray foil with cooking spray.

In a medium bowl set over a pan of almost-simmering water, melt chocolates and butter, stirring occasionally until mixture is smooth. Whisk in cocoa until smooth. Set aside and allow to cool slightly.

Whisk together eggs, sugar, vanilla, and salt in a medium bowl. Whisk chocolate mixture into egg mixture. Stir in flour with wooden spoon until just combined. Scrape batter into prepared pan, spread into corners, and smooth surface with a spatula. Bake until slightly puffed and toothpick inserted in center comes out with a few sticky crumbs attached, 35 to 40 minutes.

Let cool, remove from pan, and slice just before serving.

Monday, March 19, 2012

Geek Over Greek

Perhaps it's because Bill is a fan of feta, or maybe it's the irresistible tomato-cucumber-red onion combination I love so much, but I totally geek out over Greek food. I've made yummy Greek salads, I've mastered my own homemade tzatziki, and most recently I stumbled upon this amazing chicken gyro that I put to the test.

Just look at it! The soft pita bread, all those fresh veggies, the salty cheese, the moist and flavorful chicken pieces ... who wouldn't want to take a giant bite of this gyro?! My ONLY complaint about this recipe is the sauce. I wasn't overly impressed with the simple tzatziki made with just yogurt and dill in the original recipe, so I attempted a hybrid with my mastered tzatziki (linked above). The addition of lemon juice and a pinch of salt helped, but I missed the cool cucumber flavor from my recipe. I'll make these gyros again, but next time with my own sauce.

Lemon Chicken Gyros
Ingredients:
For Gyros
1 teaspoon oregano
1 teaspoon thyme
2 garlic cloves, minced
1/4 teaspoon pepper
1/4 cup lemon juice
2 tablespoons olive oil
2 boneless, skinless chicken breasts, cut into strips
2 flatbreads or pitas
Handful baby spinach leaves
1 tomato, diced
1/2 small red onion, thinly sliced
1/3 cup crumbled feta cheese
For Sauce
1/4 cup plain Greek yogurt
2 teaspoons fresh dill, minced

Directions:
In a medium bowl, whisk together oregano, thyme, garlic, pepper, lemon juice, and olive oil. Add chicken, toss to coat, cover, and refrigerate at least 1 hour.

Heat skillet over medium-high heat. Remove chicken from bowl and saute about 5 minutes per side, until no longer pink.

Meanwhile, in a small bowl, combine yogurt and dill (i added a tablespoon of lemon juice and a hefty dose of salt). Wrap flatbreads in slightly damp paper towels and microwave 15 to 25 seconds to soften and warm.

On each flatbread, spread a thick layer of tzatziki. Top with spinach, tomatoes, red onion, and feta. Divide chicken between flatbreads. Serve!

Sunday, March 4, 2012

Ballpark ... Bread?

With spring training in full swing, I'm conjuring up images of my favorite ballpark foods. Maybe it's the snow we've had over the past few days, but I'm longing for a sunshine-y day at the ballpark with a Summer Shandy in one hand and a soft pretzel in the other. So when I happened upon this recipe in one of my daily Food Network emails, I got excited.

Homemade soft pretzels have been on my recipe wishlist for about a year now, and now seemed like as good a time as any to try them out. I'm very happy to report that my first swing at pretzel-making was not a strikeout! (It also wasn't a home run, but probably a standing triple, so that's pretty good!) If you're wondering where I fell short, it was in the pretzel shaping department. Who knew it was such hard work to stretch and roll a rope of pretzel dough? I got impatient, so my pretzels ended up sort of squat, looking a bit more like rolls. I felt a little better when I stumbled across a picture of Alton Brown's homemade soft pretzels and they looked a lot like mine do - we'll call them rustic rather than refined.

Squat or not, at least they taste delicious! They have the same pull, the same slightly sweet crust, and the same soft and chewy interior as the real thing! Now to figure out how to replicate the little cup of nacho cheese ...

Homemade Soft Pretzels
Ingredients:
1 cup milk
1 package active dry yeast
3 tablespoons brown sugar
2 1/4 cups flour, plus more for kneading
2 tablespoons butter
1 teaspoon salt
2 tablespoons baking soda
Sea salt

Directions:
Warm milk in a saucepan to about 110 degrees. Pour into medium bowl and sprinkle in yeast. Let yeast soften, 5 minutes. Stir in brown sugar and 1 cup flour. Soften butter and stir into mixture. Add remaining 1 1/4 cups flour and salt to make a sticky dough.

Turn dough out onto floured surface and knead, adding more flour if needed (and I needed a lot of it, probably close to 3/4 cup), until smooth but still slightly sticky, about 5 minutes. Shape into a ball, place in a greased bowl, loosely cover and let rise in a warm place (like on top of the stove) until doubled in size, about 1 hour.

Preheat oven to 450 degrees and grease a large baking sheet. Punch dough down, then turn out onto a lightly floured surface. (If the dough seems tight, cover and let rest until it relaxes, about 5 minutes or so.) Divide dough into 6 pieces, then roll and stretch each piece with the palms of your hands into a 30-inch rope (my ropes were probably closer to 20 inches because I got impatient). Form each rope into a pretzel shape. Arrange pretzels on prepared baking sheet.

Dissolve baking soda in a cup or so of warm water. Liberally brush each pretzel with soda solution, then sprinkle with sea salt. Bake until golden, 10 to 12 minutes. Cool on a wire rack, then play ball!

Saturday, March 3, 2012

Between a Crisp and a Hard Place

Growing up, I remember both my mom and my grandmother being obsessed with biscotti. I assumed the addiction was sort of like coffee ... an acquired taste. When you got old.

Well now that I am old, I have a minor obsession with both coffee and biscotti. I can't get enough of either (though luckily the biscotti hasn't become a daily habit like the coffee). Bill's been feeding my addiction by bringing home biscotti from the bakery at the Public Market every time he heads downtown. But as delicious as those biscotti are, I've had a hankering for homemade.

On one of my trips to the Public Market with Bill a few weeks ago, I came across these awesome little candied ginger nibs at the Spice House. They were sitting next to a recipe for ginger pecan biscotti, so I had to snatch that up. Little did I know that it would only serve as inspiration.

I took a stab at the recipe I grabbed from the Spice Market. But take a look at these ingredients:

1 1/4 cups flour
1/2 cup brown sugar
1/2 teaspoon salt
1/2 teaspoon ground ginger
1/4 teaspoon baking powder
1/4 teaspoon baking soda
2 eggs
1 teaspoon vanilla
1/3 cup candied ginger nibs
1/3 cup chopped pecans

Theirs vs. Mine
Do you see the problem? A couple of eggs and a teaspoon of ginger are my only liquid ingredients? Something didn't seem right ... and upon taking them out of the oven, something didn't taste right.

Aside from the wet to dry ingredient ration, there were a couple other problems with this recipe. The 400 degree baking temperature was a bit extreme, and the ground ginger plus ginger nibs made the cookies just a bit too ... ginger-y. I knew these biscotti had potential, and I'm never satisfied with a failed recipe, so I turned to a tried and true source for something I could work with - Martha Stewart.

Martha gave me what I knew would be a no-fail recipe that I tweaked to suit my needs. I took the base of her biscotti, added some stuff to suit the flavors I was after, and voila! I had perfect ginger pecan biscotti AND a recipe all my own!

Where the original biscotti came out of the oven brittle and crisp and a bit too zesty, my recipe was everything biscotti should be ... dense, hard, and the perfect blend of ginger-y, citrus-y, nutty flavor! And yes, there is a major difference between "crisp" and hard." Crisp cookies have their place, but they're dry, brittle, and crumby. Hard cookies, like biscotti should be, are dense and smooth. I'm super happy to have achieved just that!

Ginger Pecan Biscotti
Ingredients:
2 cups flour
1/2 teaspoon baking powder
1/2 teaspoon salt
4 tablespoons butter
1 cup brown sugar
2 eggs
1 teaspoon vanilla
1 1/2 teaspoons lemon zest
1/3 cup pecans, chopped
1/3 cup candied ginger nibs

Directions:
Preheat oven to 350 degrees. Line baking sheet with parchment paper.

In medium bowl, whisk together flour, baking powder, and salt. In another bowl, combine butter and brown sugar. Beat in eggs, then stir in vanilla. Mix in flour mixture until well combined. Stir in lemon zest, pecans, and ginger nibs until combined.

Turn dough out onto lightly floured surface. Shape into a log, about 14 by 3 inches. Transfer to prepared baking sheet. Bake until firm, lightly browned, and slightly cracked on top, about 30 minutes. Remove from oven and let cool about 15 minutes.

Transfer log to cutting board and using a sharp serrated knife, cut biscotti on a diagonal into 1/2-inch slices. Arrange slices on baking sheet and bake another 15 minutes, flipping halfway through cooking time. Allow to cool on a wire rack.